Shop
- PCB Repair
- Products
- Luxury sofa
- Gikfun DIY SMD SMT Welding Practice Soldering Skill Training Board Led EK7026_
Description
Price: $8.68
(as of Dec 22, 2024 11:54:10 UTC – Details)
Product Description


Gikfun Inc focus on electronic design, development and marketing of Arduino.
We’d like to receive your valuable suggestions for our products and make your idea come true.

Beautiful water lamp circuit
The welding product is a beautiful water lamp circuitThis is a great little training kit for those who want to get a feel for SMD soldering
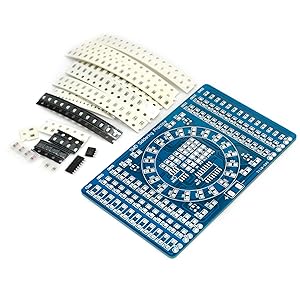

Complete accessories
It contains a PCB with 2 sides, English instructions and all the components neededThe PCB board has clearly marked the electronics components, it’s easy to assemble
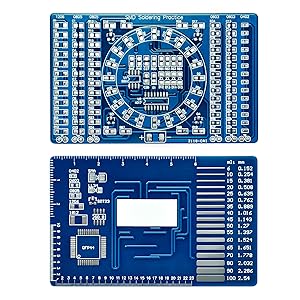

Improve the welding skills
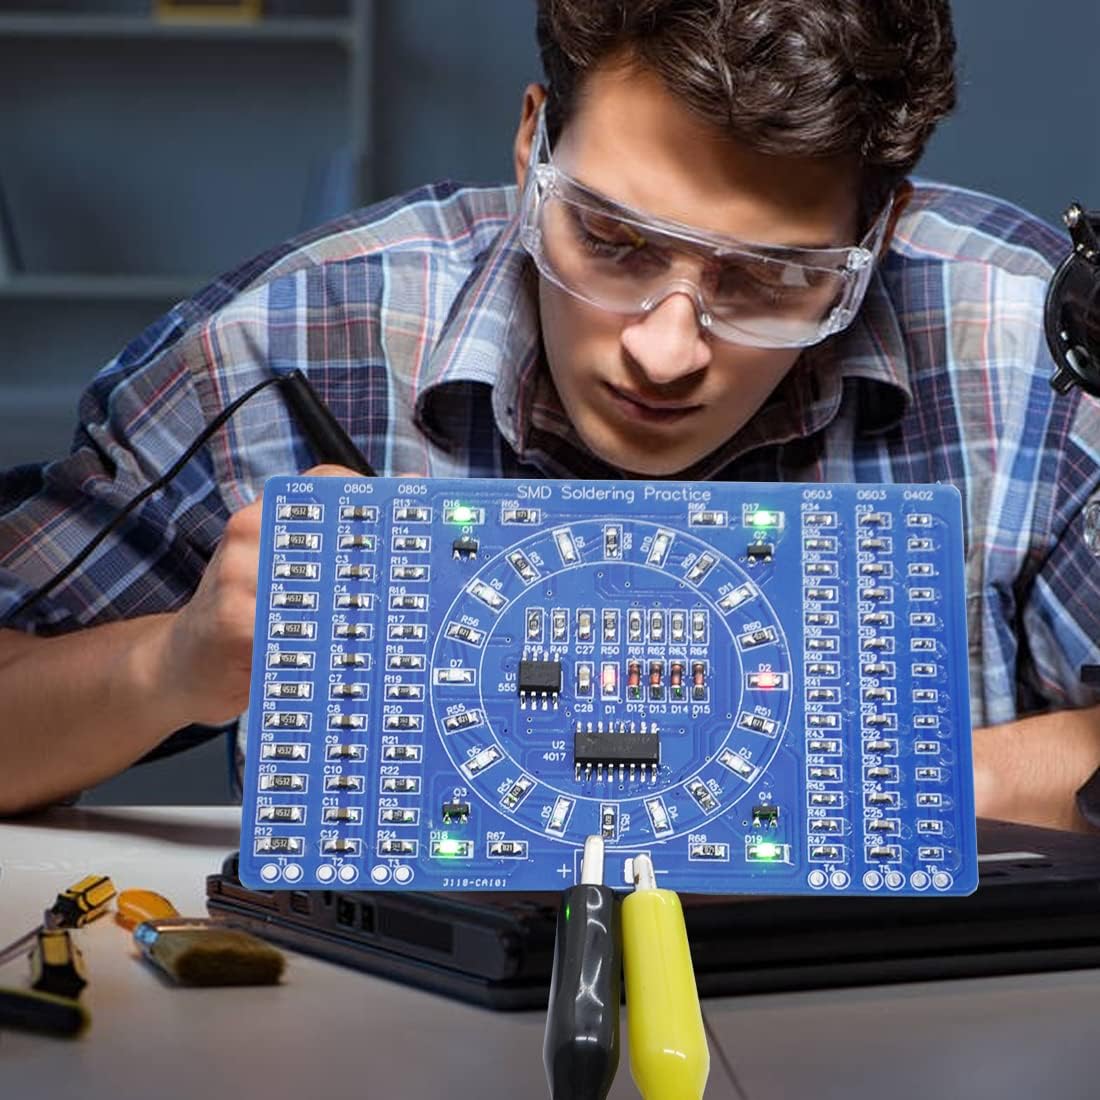
The solder learning kit has proper circuit design with led indicator, easy to check your soldering result, them will be a flashing LED light after soldered and powered with 3-12V, very interesting effect
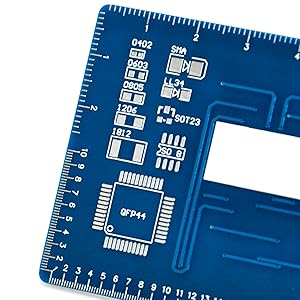

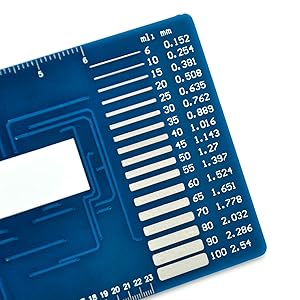
Convenient measurement design
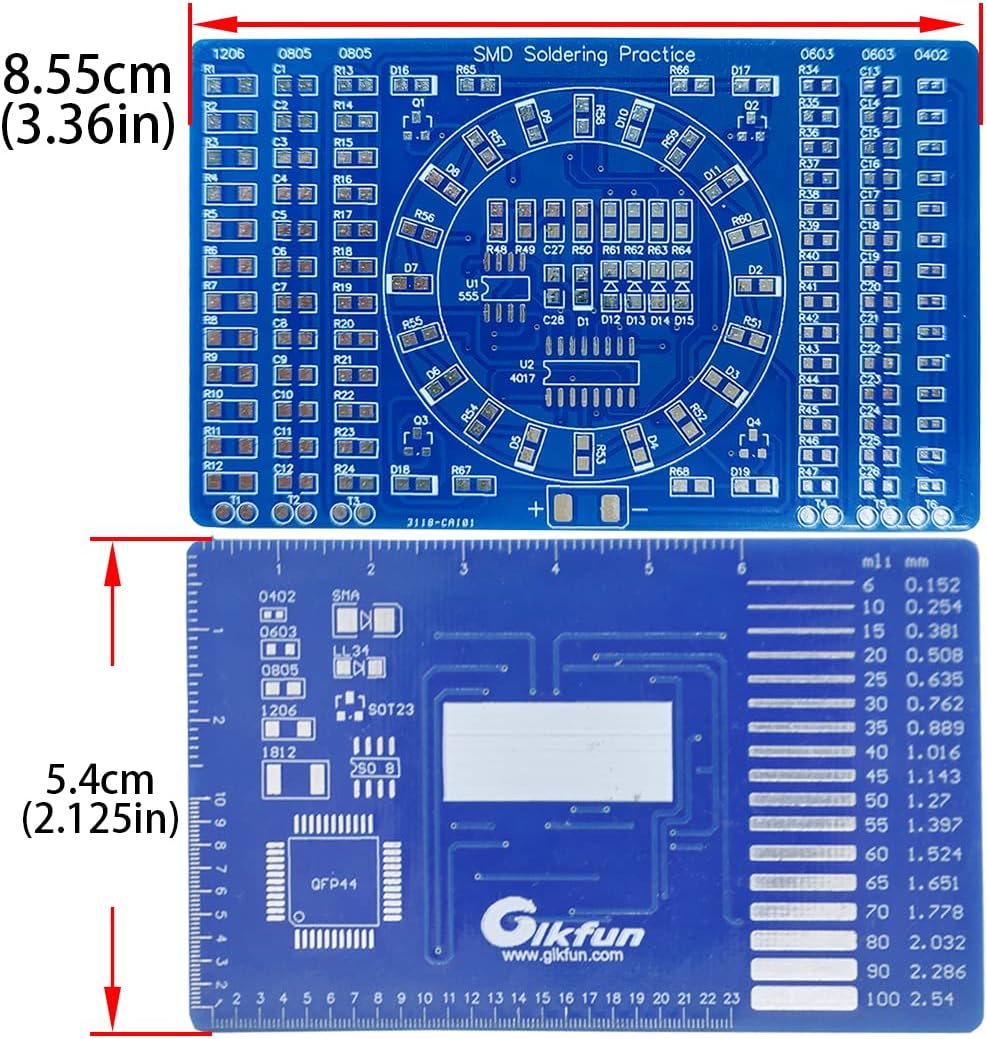
The back of the PCB board is marked with mm/in scale for easy measurement of components, and also marked with PCB line width example, can be used as a design PCB referencePCB Size: 85.6mm(L)x 54mm (W) x1.6mm (H)Operating Voltage: 3-12V
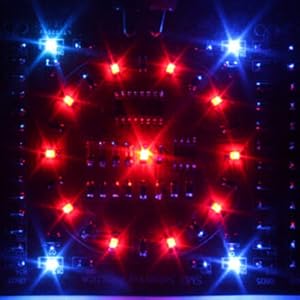

This is red Led, we also have blue Led version, ASIN is B00VWB8F8KThe product is used for learning. Suitable for people who want to improve the welding skills.Please make sure all components in right direction and right place; and check whether pseudo and float welding, this is very important in practicing and testing. Comes with English user manual and online file, which will guide you how to finish step by step. If you need technology supports, or meet other problem, please send e-mail to us, we will help you as soon as possible.
Add to Cart
Add to Cart
Add to Cart
Add to Cart
Customer Reviews
4.0 out of 5 stars
323
4.5 out of 5 stars
379
—
4.4 out of 5 stars
116
4.5 out of 5 stars
719
4.1 out of 5 stars
31
Price
$16.98$16.98 $11.98$11.98
—
— $13.98$13.98 $11.98$11.98


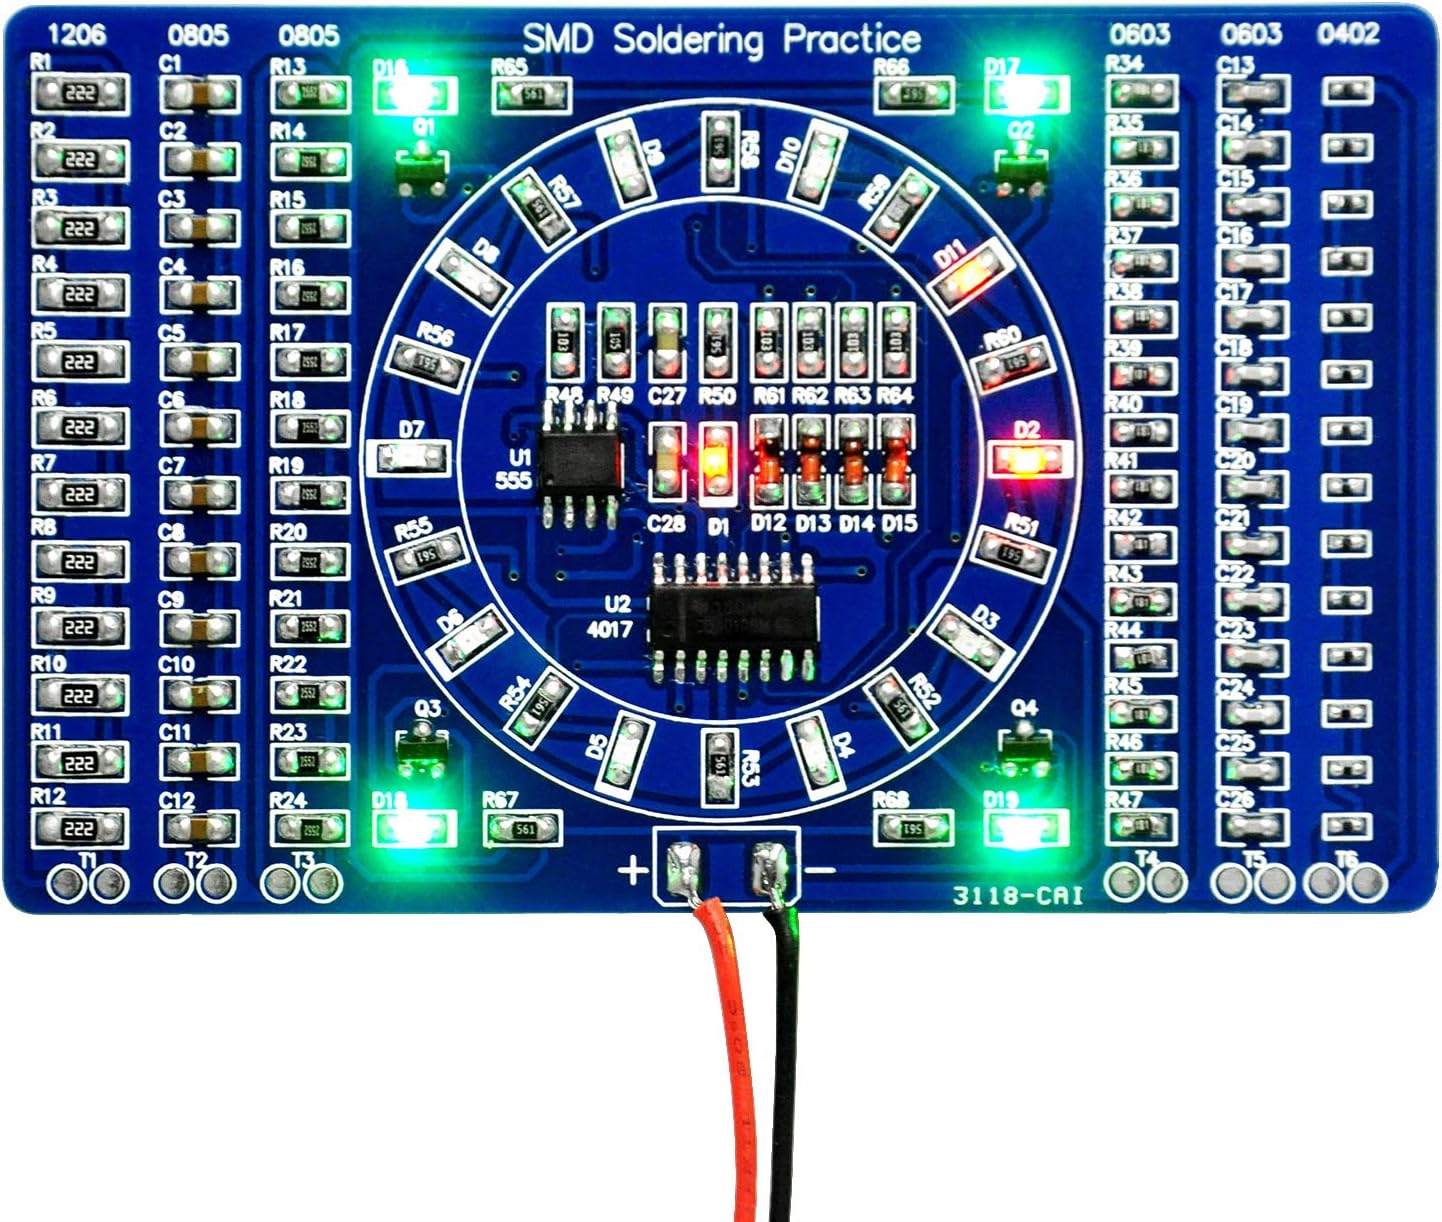
After welding, just connect electricity (3-12V) to see the effect. You can quickly judge the welding effect. The welding product is a beautiful water lamp circuit.
The back of the board with mm/Inch ruler, Easy to measure component
This is a perfect Soldering skills training materials for beginners. This Soldering Project requires basic electronic knowledge and hands-on ability. We have uploaded the user guide on the Amazon page at Technical Specification.
High quality PCB, has clearly marked the electronics components, even beginners can easily solder successfully.
Since the accessories are very small, it is recommended to use a pointed clip to assist welding. ASIN: B095BP53HJ



Aaron JassoDecember 22, 2024
Great SMD Practice Kit
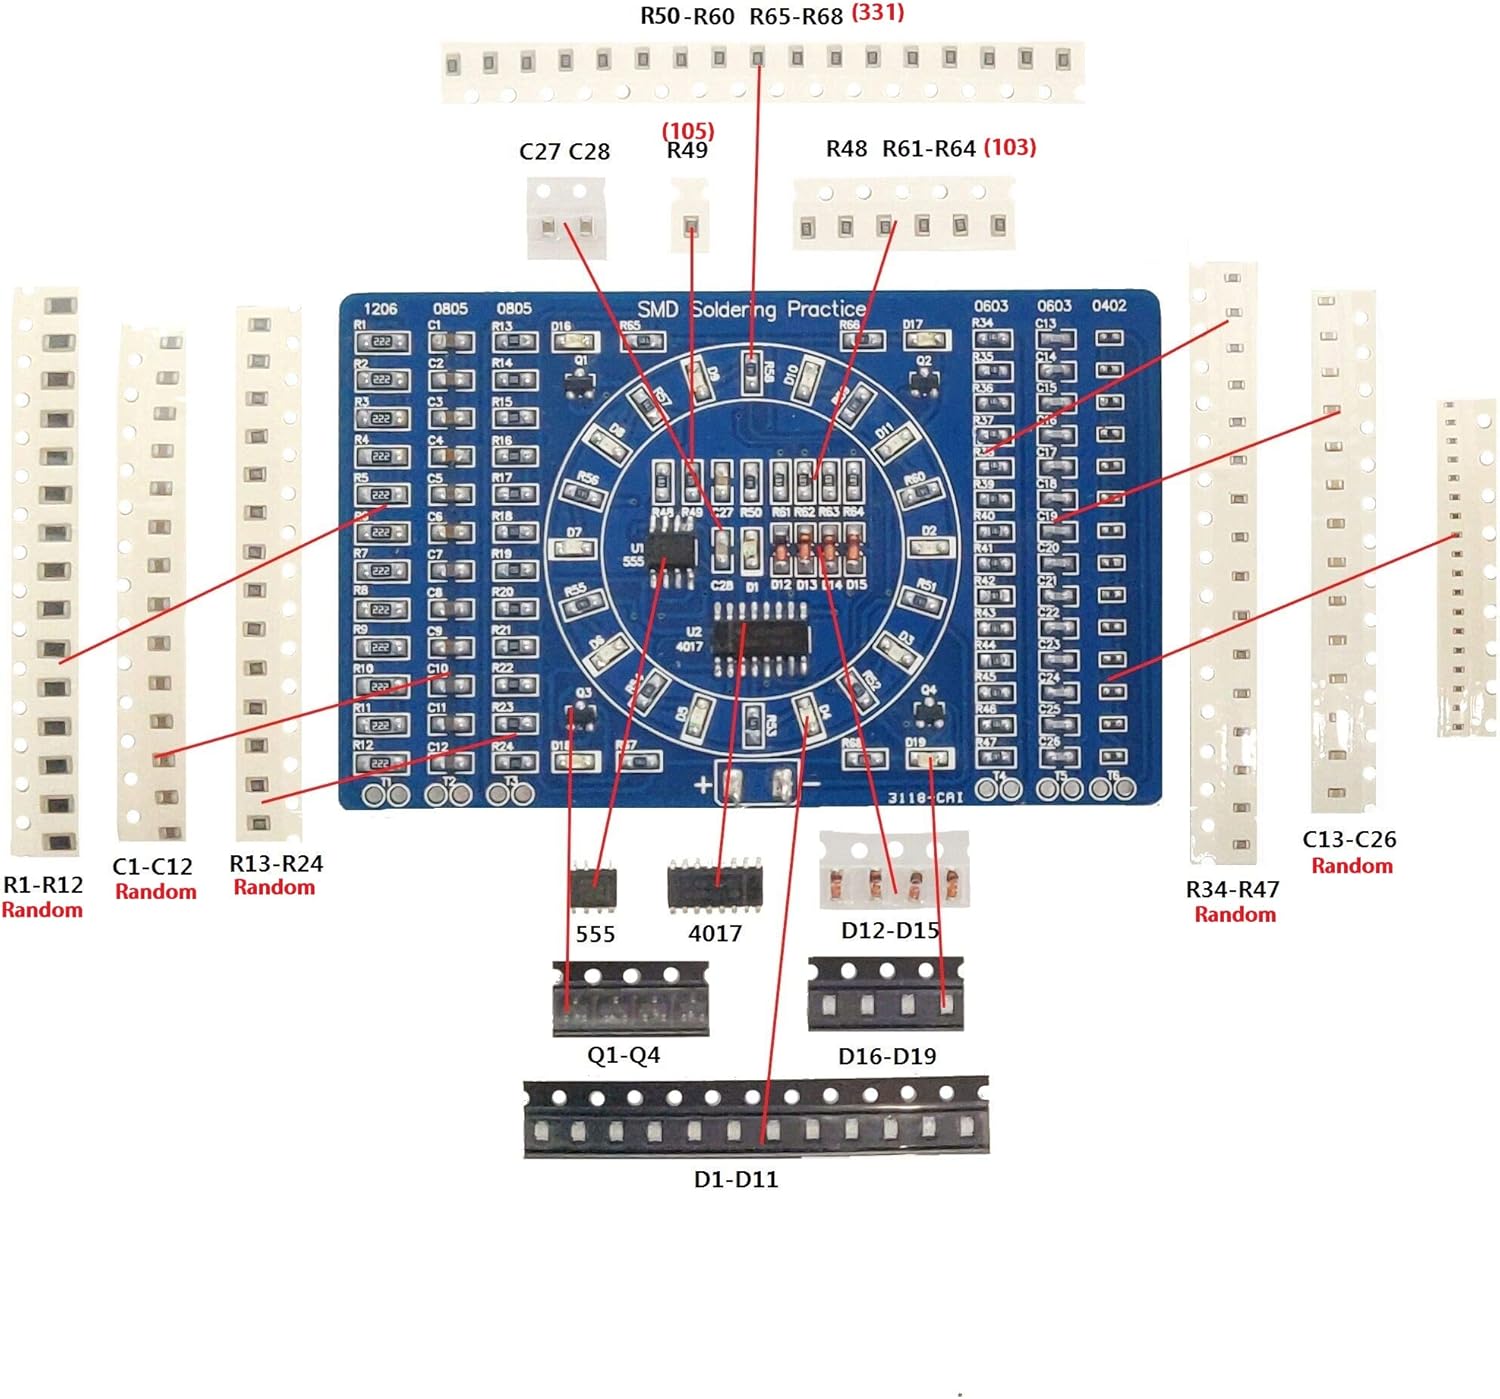
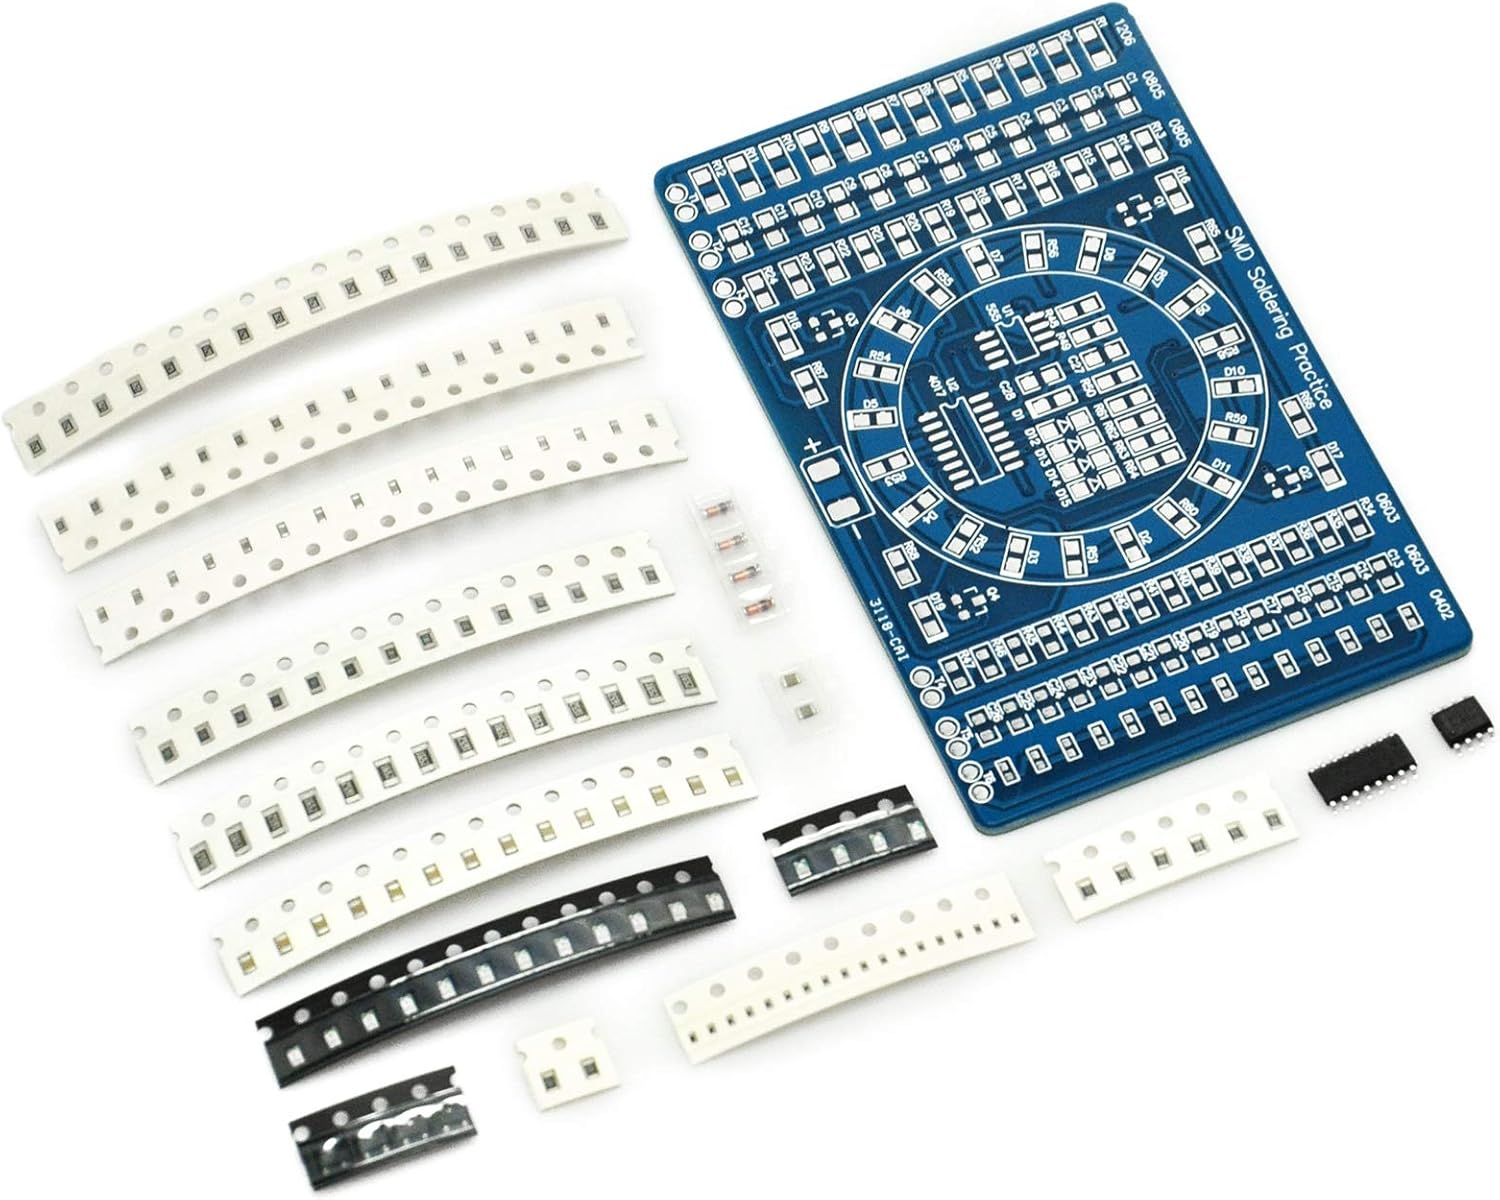
DESCRIPTION:The description is somewhat lacking, so I’ll try to clear up some of the confusion. This is a beginner SMD soldering kit, intended for practice. It includes two “sections” on the front of the board: practice and an LED circuit. The back contains several rulers in standard and metric, a trace-width gauge, and standard SMD component pad patterns for reference.The first section is is a practice area for various surface mount components, and consists of the three vertical rows on each side of the board. These rows consist of solder pads for four different sizes of SMD parts: 1206, 0805, 0603, and 0402 (Google “SMD sizes” to find out what those numbers mean if you don’t already know). The kit includes resistors and capacitors to solder to these rows, and I believe the values are random. These rows aren’t electrically connected to the LED circuit, so it’s fine if you make mistakes or lose components. They even include a few extra of each, which was good because I managed to lose a few of the 0402 resistors when they slipped out of my tweezers. Those things are TINY.The second section is the actual LED circuit, and it’s located in the center of the board between the two groups of practice rows. It consists of a 4017 decade counter which drives a ring of red LEDs. The LED’s light one at a time, chasing around the circle. Four blue LEDs at the corners of the center section pulse on and off together once per revolution (on for half, off for half). A 555 timer provides the pulses to drive the counter, and also illuminates a red LED in the center of the circle with each timing pulse. The circuit incorporates several SOT23 transistors and DO diodes. The ICs are both SOIC packages. The speed and brightness of the LEDs will depend on the input voltage you apply.ASSEMBLY:I don’t think I could have done this without a good pair of tweezers, some form of hands-free magnification (I love my Brightech – LightView PRO SuperBright 56 LED Magnifier Lamp – Adjustable Swivel Arm – 5 Diopter 5″ Lens – Space Saving Clamp – White), and a fine-tipped soldering iron. Having the right tools for the job is a huge advantage.My instructions were in English, but not as clear as I’d like. First I separated all the components into the two groups, one for each section (the practice parts and the “real” LED circuit). The component values for the LED circuit are shown on the instructions. They should all be pretty obvious because there are small numbers of most of them. The only confusing one was the strip of 330-Ohm resistors. Make sure you put the strip of resistors marked “331” in the LED circuit pile. After separating the LED circuit parts, you should have 6 leftover strips of resistors and capacitors. These leftover strips should have about 14 components each of the 1206s and 0805s, and about 16 each of the 0603s and 0402s. Start with these and practice your technique. It’s probably easiest to start with the larger components and work your way down to the smaller ones. Search online for SMD soldering tutorials if you need to.Once the practice rows are done, you should be ready for the main circuit. The trickiest part is the polarities of the diodes. Use the picture guide in the instructions and note that the LED polarity symbol is on the underside of the part. For the ICs, solder one corner first, then the opposite corner to hold the part steady. Then solder the rest of the pins. If you accidentally connect two pins, use some solder wick to mop up the excess solder. The wick won’t pull the solder from between the IC and the board, so you can make a really clean-looking connection this way.Lastly, check that power is not shorted to ground (use the continuity mode on your multimeter and test the positive and negative terminals at the bottom of the board). Then hook up the power! I used some alligator clips and a 9v battery (I believe 3V to 12V is recommended).This was my first SMD project and if I figured it out, you probably can too. If you have any questions, leave a comment and I’ll do my best to answer you quickly. Have fun!
Hawk eyeDecember 22, 2024
Second time’s the charm
If you’re considering this to try SMD soldering, I strongly recommend you have a soldering station, one that has a programmable temperature, and a microscope. Read my experience with this kit below, and you’ll see I did it with a magnifying headband. It’s possible but a microscope will make this project so much more bearable. Just be sure the microscope head is far away enough from the board that you can get your soldering iron in there!I bought the red version of this last year and ruined it completely; I tried soldering the components roughly the same way I’d solder THT (Through hole) components. The tiny components in the kit stuck to my iron, or I took so long trying to solder them to a pad I’d completely fry them.I managed to get a bit of formal SMD soldering training in at work, and I studied on techniques. I decided to try this blue version out to try my skills again.This one turned out better, and the functional LED circuit works. This kit is a heck of a workout if you don’t have a microscope though!I used a jeweler’s headband magnifier, which goes to 10x magnification. That level felt like the bare minimum to my eye, any lower magnification power and I couldn’t clearly see what I was doing. But since I was wearing a head band to see, I had to slump forward over my rolling workstation toolbox to get in focus. So, if you don’t have a microscope, use a headband like I did. An eye loupe will place your face dangerously close to the soldering iron, and you could get solder spatter in your other eye. Even with my headband, I got a few breaths of soldering fumes, so again, a microscope with enough clearance for your soldering iron to get under is very strongly recommended!I sorted out the components by reading the values on the resistors and comparing the quantities of components that came with the kit to the materials and supplies list that came with the instructions, which have hastily scrawled instructions for SMD soldering but little instruction on how to assemble this kit. Once I got everything sorted out, I soldered the “extra” components on the practice areas. There are a lot of pads, so you’ll get PLENTY of practice here. I then went on to solder the components to functional part of the board, soldered lead wires to the + and – pads, and voila! My project lit up!The finished product is simple in aesthetics and function, so only the individual that solders this kit together is going to get any enjoyment out of watching this light up. So I would only recommend this kit if you want a solid amount of SMD soldering experience outside of formal training. With the right equipment and experience, this kit isn’t horribly difficult, but I wouldn’t call it easy either!
Amazon CustomerDecember 22, 2024
Good for learning hot air soldering.
I have never had good luck hand soldering SMD components. Hands are too shaky and eyes are too bad, in other words I’m getting too old. I have successfully built a couple of projects using SMD and soldered by hand but was never happy with the results, so I bought a hot air soldering station and bought a couple of these practice kits to learn. They worked out like a dream. Successfully built both kits and learned a lot, and more importantly got the confidence that I could do this kind of work given the right tools. The only problem I have with this kit is that the documentation is not the best, and none of the parts are labeled. The IC’s are easily identifiable by shape, but the resistors and capacitors are not.Overall a good kit to learn SMD soldering with an iron if you have the steady hands and eye sight, or, if you’re like me, and decide to cheat by using a hot air station. Just be prepared to figure out what the components are with out any documentation.
Josh BahtorukDecember 22, 2024
Good practice kit
Ordered this kit back in 2020 and it just sat on a shelf until today. I’ve never done any sort of smd soldering but figured I’d give it a go. To my surprise it worked with my limited skill and somewhat shaky hands. The instructions are non existent and the packages not labeled but with one of the provided images in the shop I was able to figure out what went where. I did have 1 led not light but it came down to a bad solder joint on a resistor. I would recommend to anyone looking to try smd soldering.
Darren D.December 22, 2024
Not for beginners, would recommend using 0.3mm solder for some of the parts, instructions are a little confusing. Not a bad little project when done right.
Andrea S.December 22, 2024
Ottima soluzione per esercitarsi a fare saldature di componenti su circuiti stampati senza distruggere congegni che si ha in casa ed avendo comunque la possibilità di testare il risultato.Buon rapporto qualità /prezzo.L’unica “macchia” del prodotto è che non ci sono indicazioni su come vanno saldati i componenti. Fortunatamente ci sono diversi video sulla rete che mostrano come procedere.
MickoDecember 22, 2024
My first smd , good for practice