Shop
- PCB Repair
- Products
- Luxury sofa
- 8x8x8 LED CUBE Kit Diy Electronic Kit Soldering Project Kit, User Needs To Solder The LED, And The Displayed Content Can Be Modified. (MULTI4)
Description
Price: $21.99 - $42.88
(as of Dec 06, 2024 19:36:00 UTC – Details)

This is an electronic kit. Buyers need to be proficient in using soldering irons. Buyers need to prepare soldering ironsand solder wires by themselves.
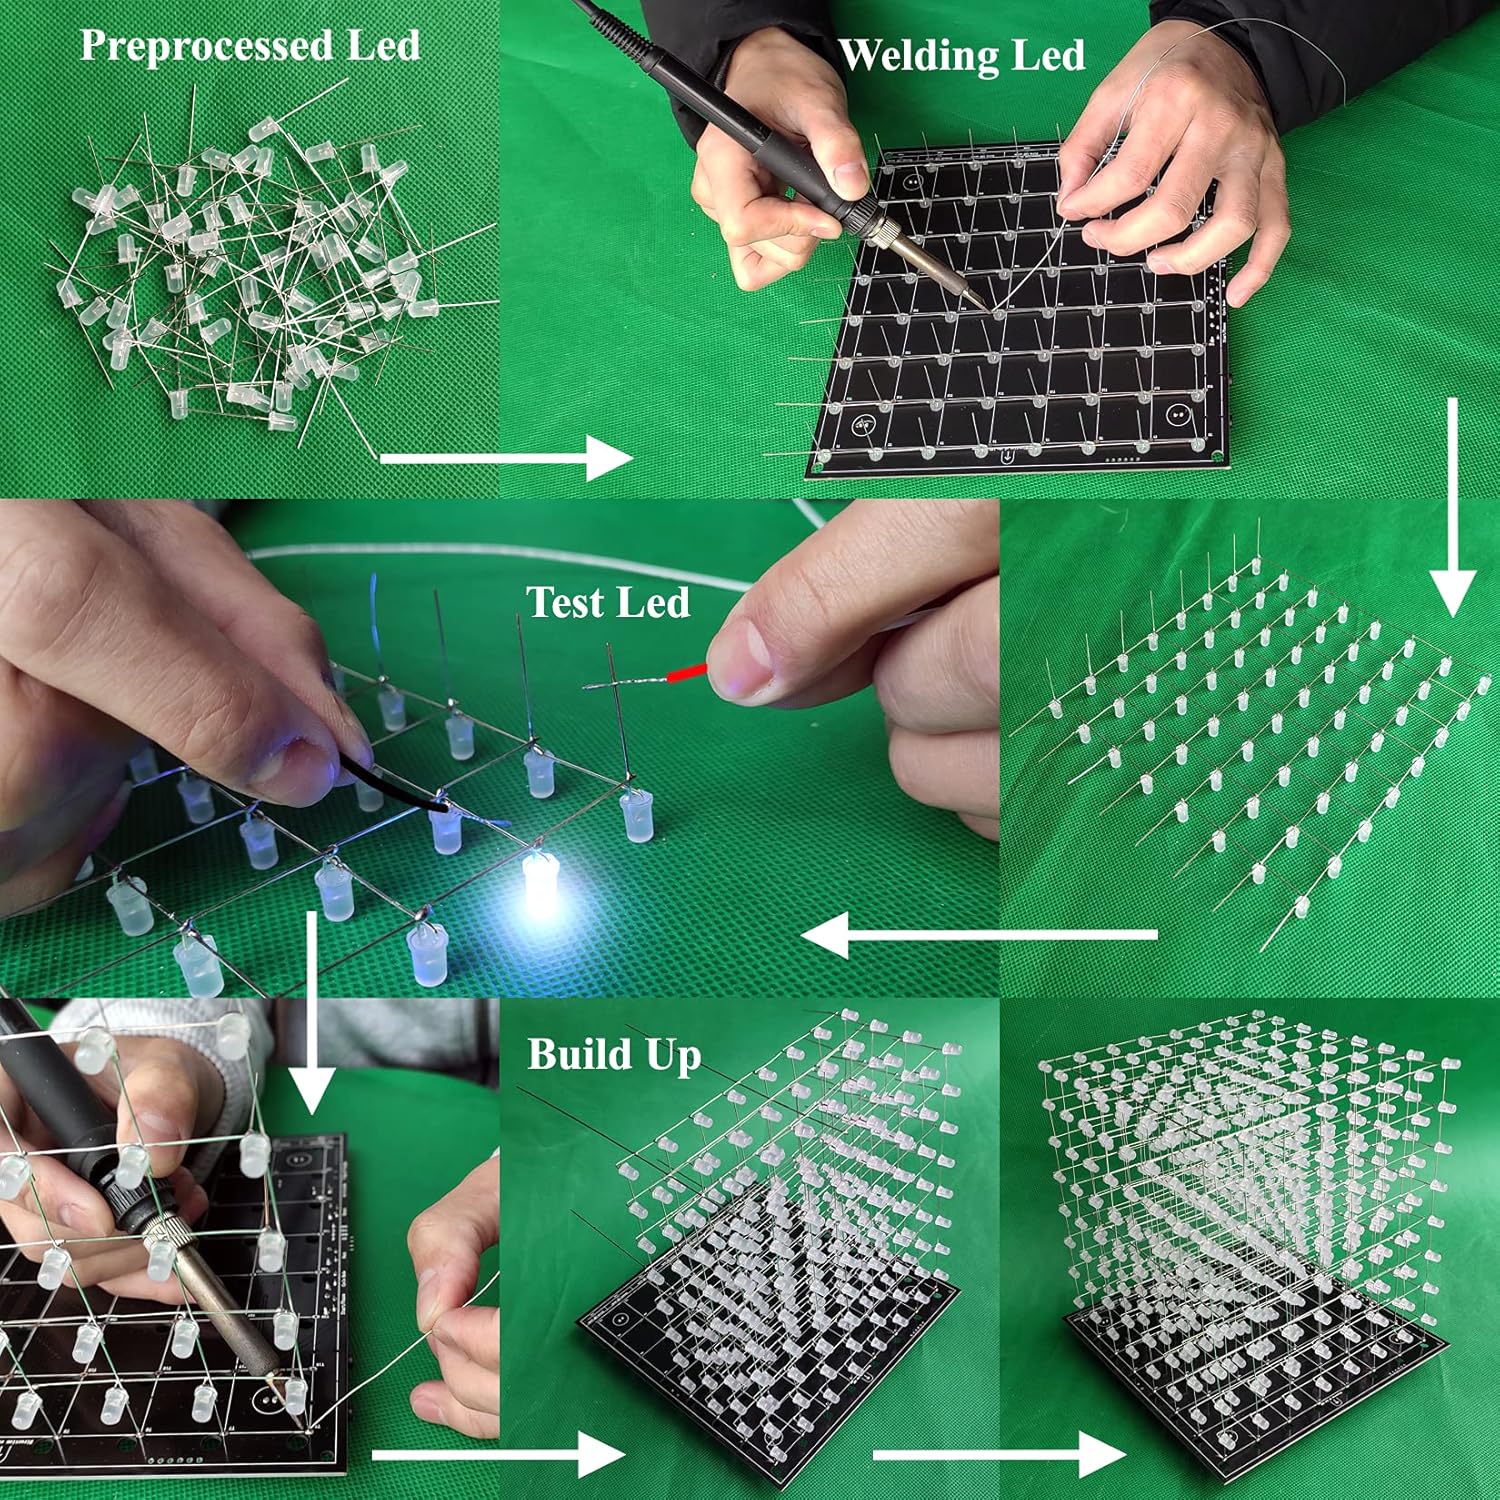
In order to make it easier for buyers toinstall successfully, we provide paper installation instructions and videoinstallation instructions. Buyers can also email us when they encounterproblems that they don’t understandduring installation.
In order to make it easier for buyers toinstall successfully, we provide spare LEDs, each of which has 26 spares.
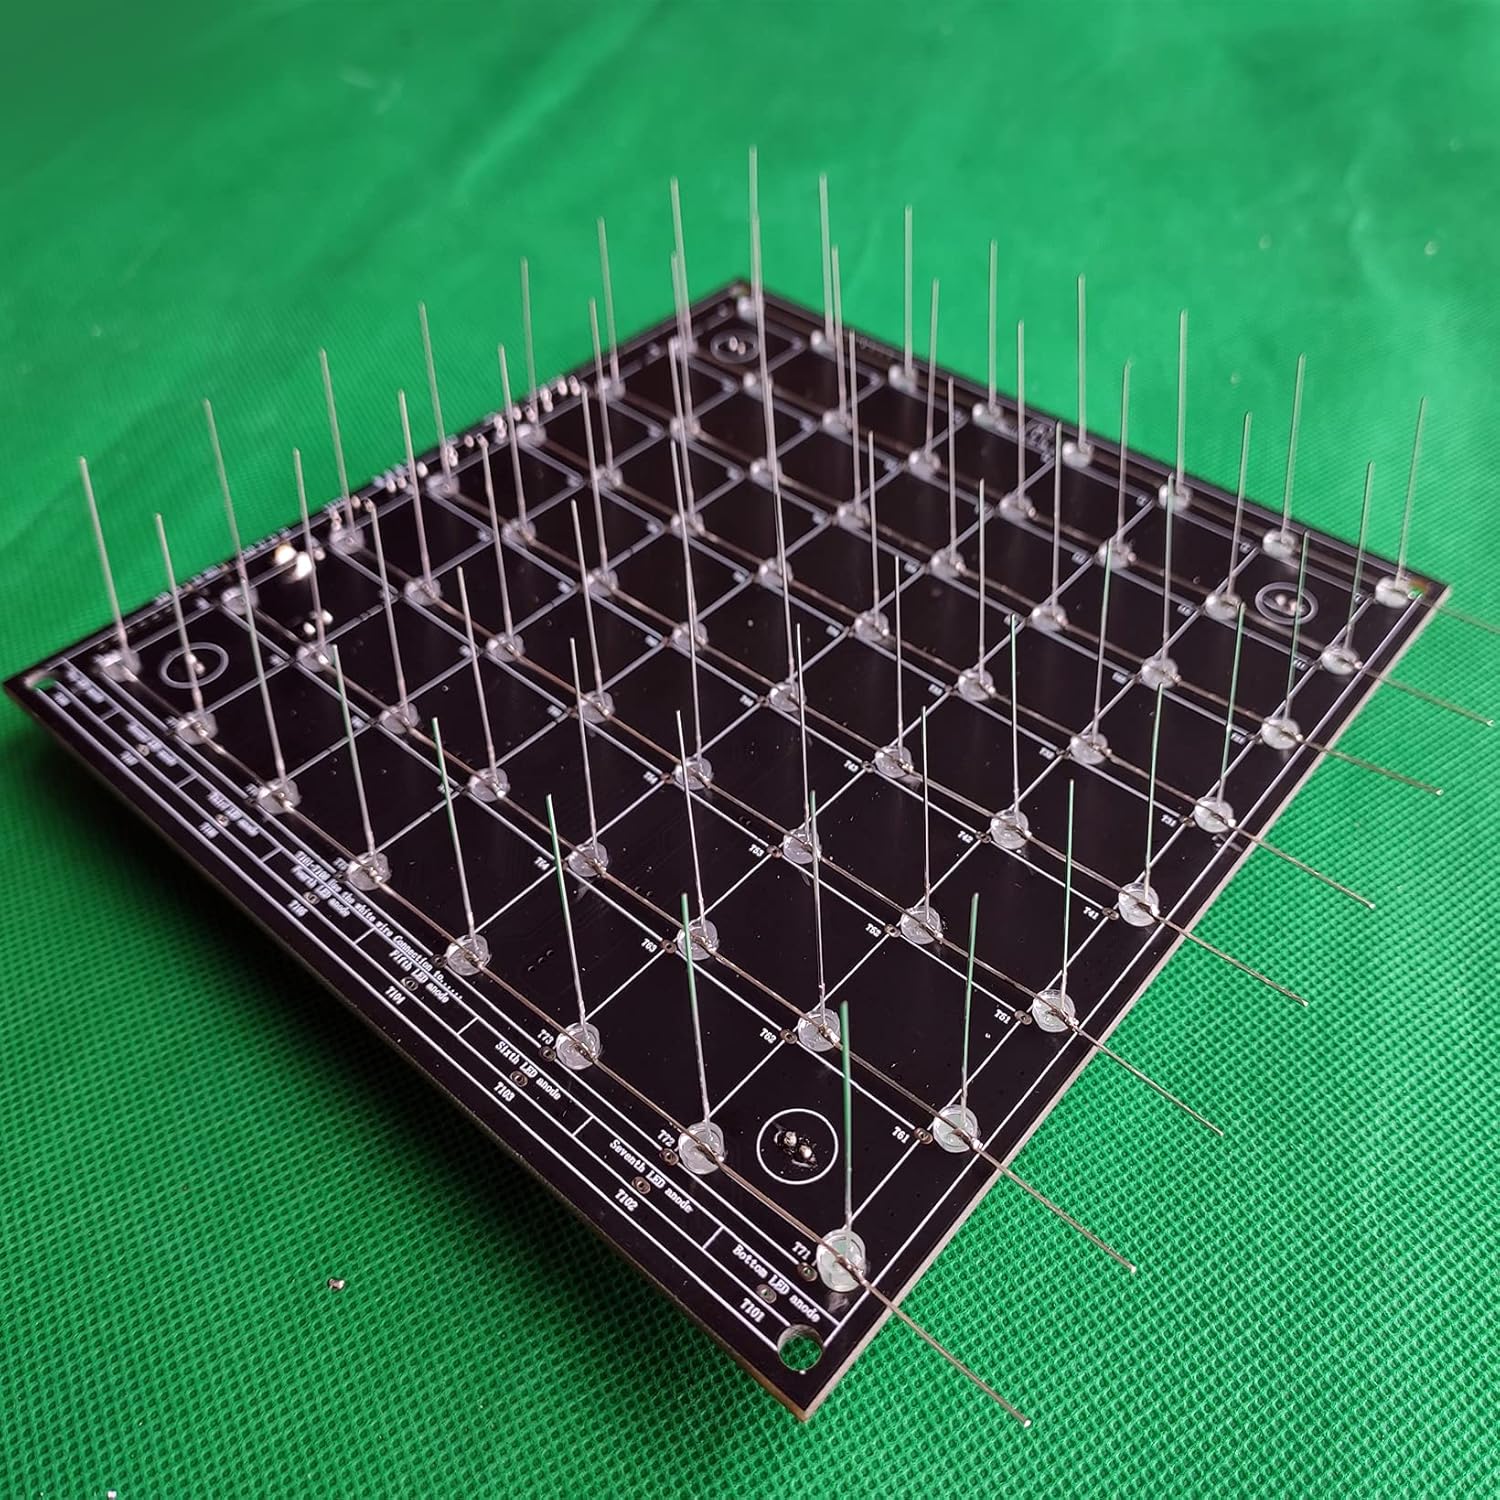
In order to make it easier for buyers toinstall successfully, we soldered the motherboard and did a detailed test on the motherboard. Users only need to solder the lights, which is much lessdifficult.
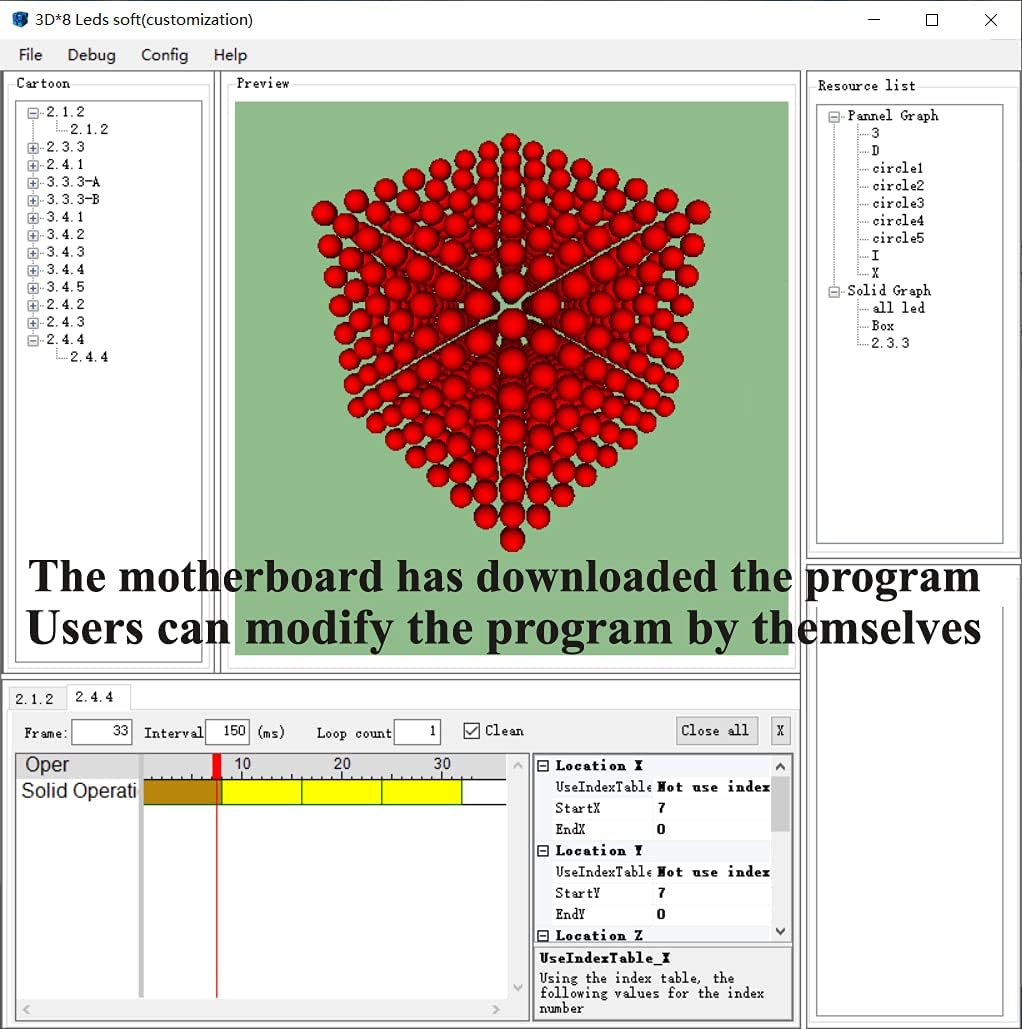
Of course, in addition to practicingwelding, buyers can also modify the displayed content by themselves to get thetext or graphics they want to display. We provide animated 3D files that buyerscan modify on the basis of our original animations.
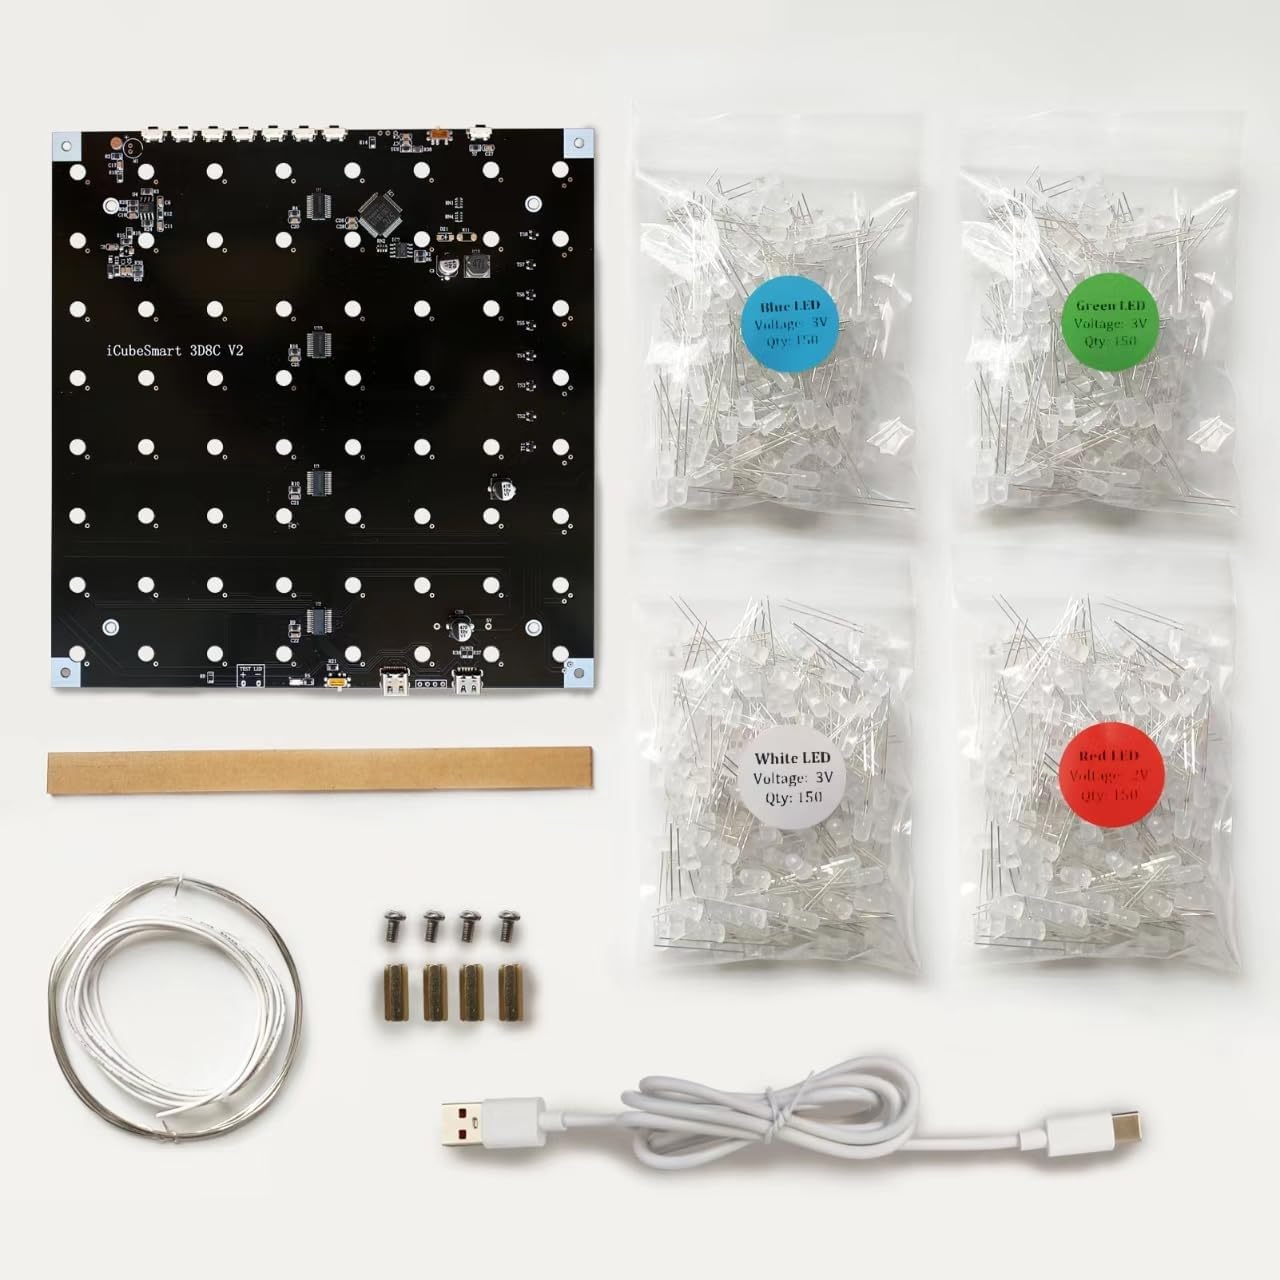
The accessories included in the kit are:
Motherboard x1
Blue LED x250 (only use 224)
Green LED x170 (only use 144)
Red LED x170 (only 144 is used)
Wire x1
Iron wire x1 (for fixing the light cube, itis not a solder wire)
Plastic strip x1 (for bending LED anode)
TYPE-C wire x1
[Great Science Kit] It’s a 8x8x8 LED CUBE diy Electronic Kit, a great science kit, soldering project kit. Children will love it and stay away from video games. It requires the buyer to solder by himself, which is very suitable for training hands-on ability and patience.
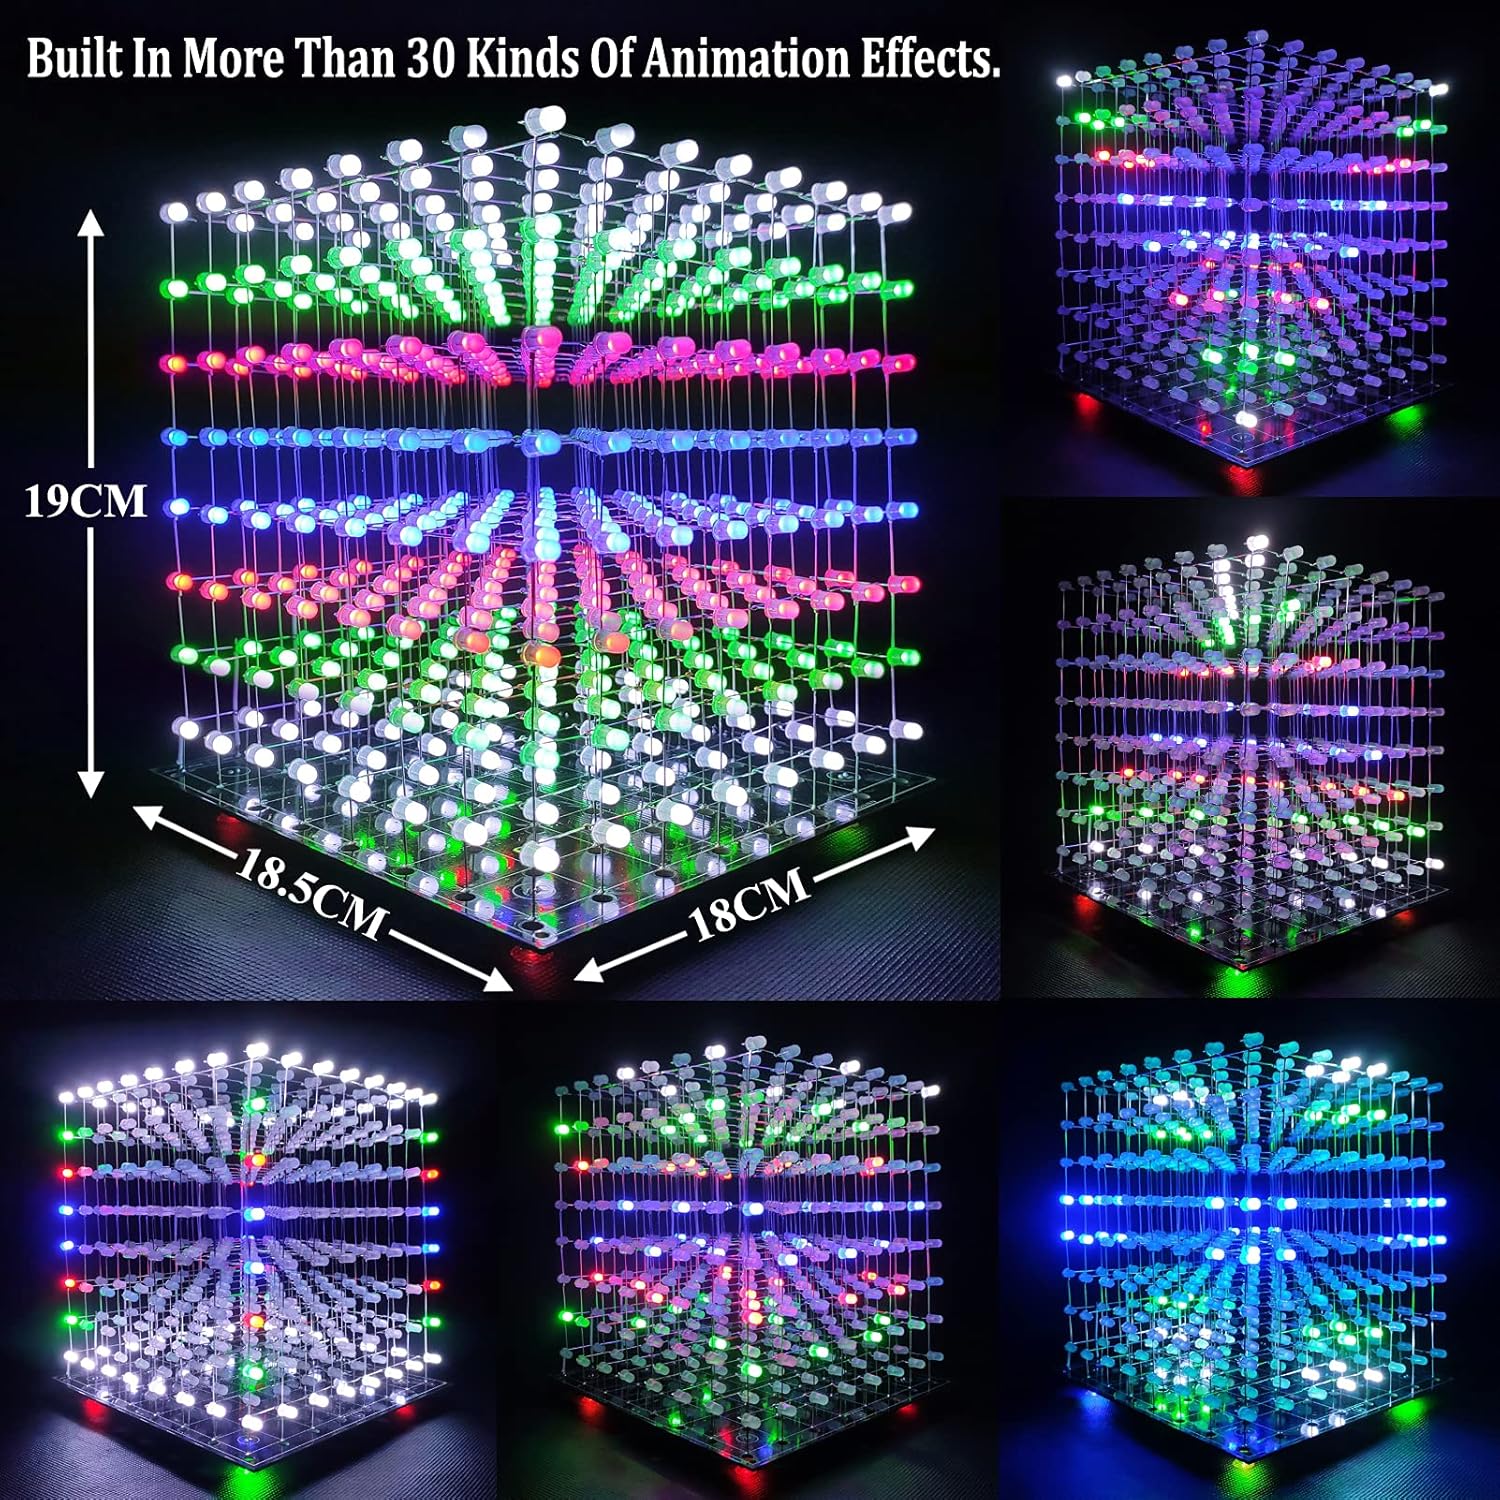
[Gorgeous Display Effect] Buyers can solder it by themselves according to the installation instructions provided by us, and then plug in the 5V 2A USB power supply, and it will run. It has thirty kinds of gorgeous display effects.
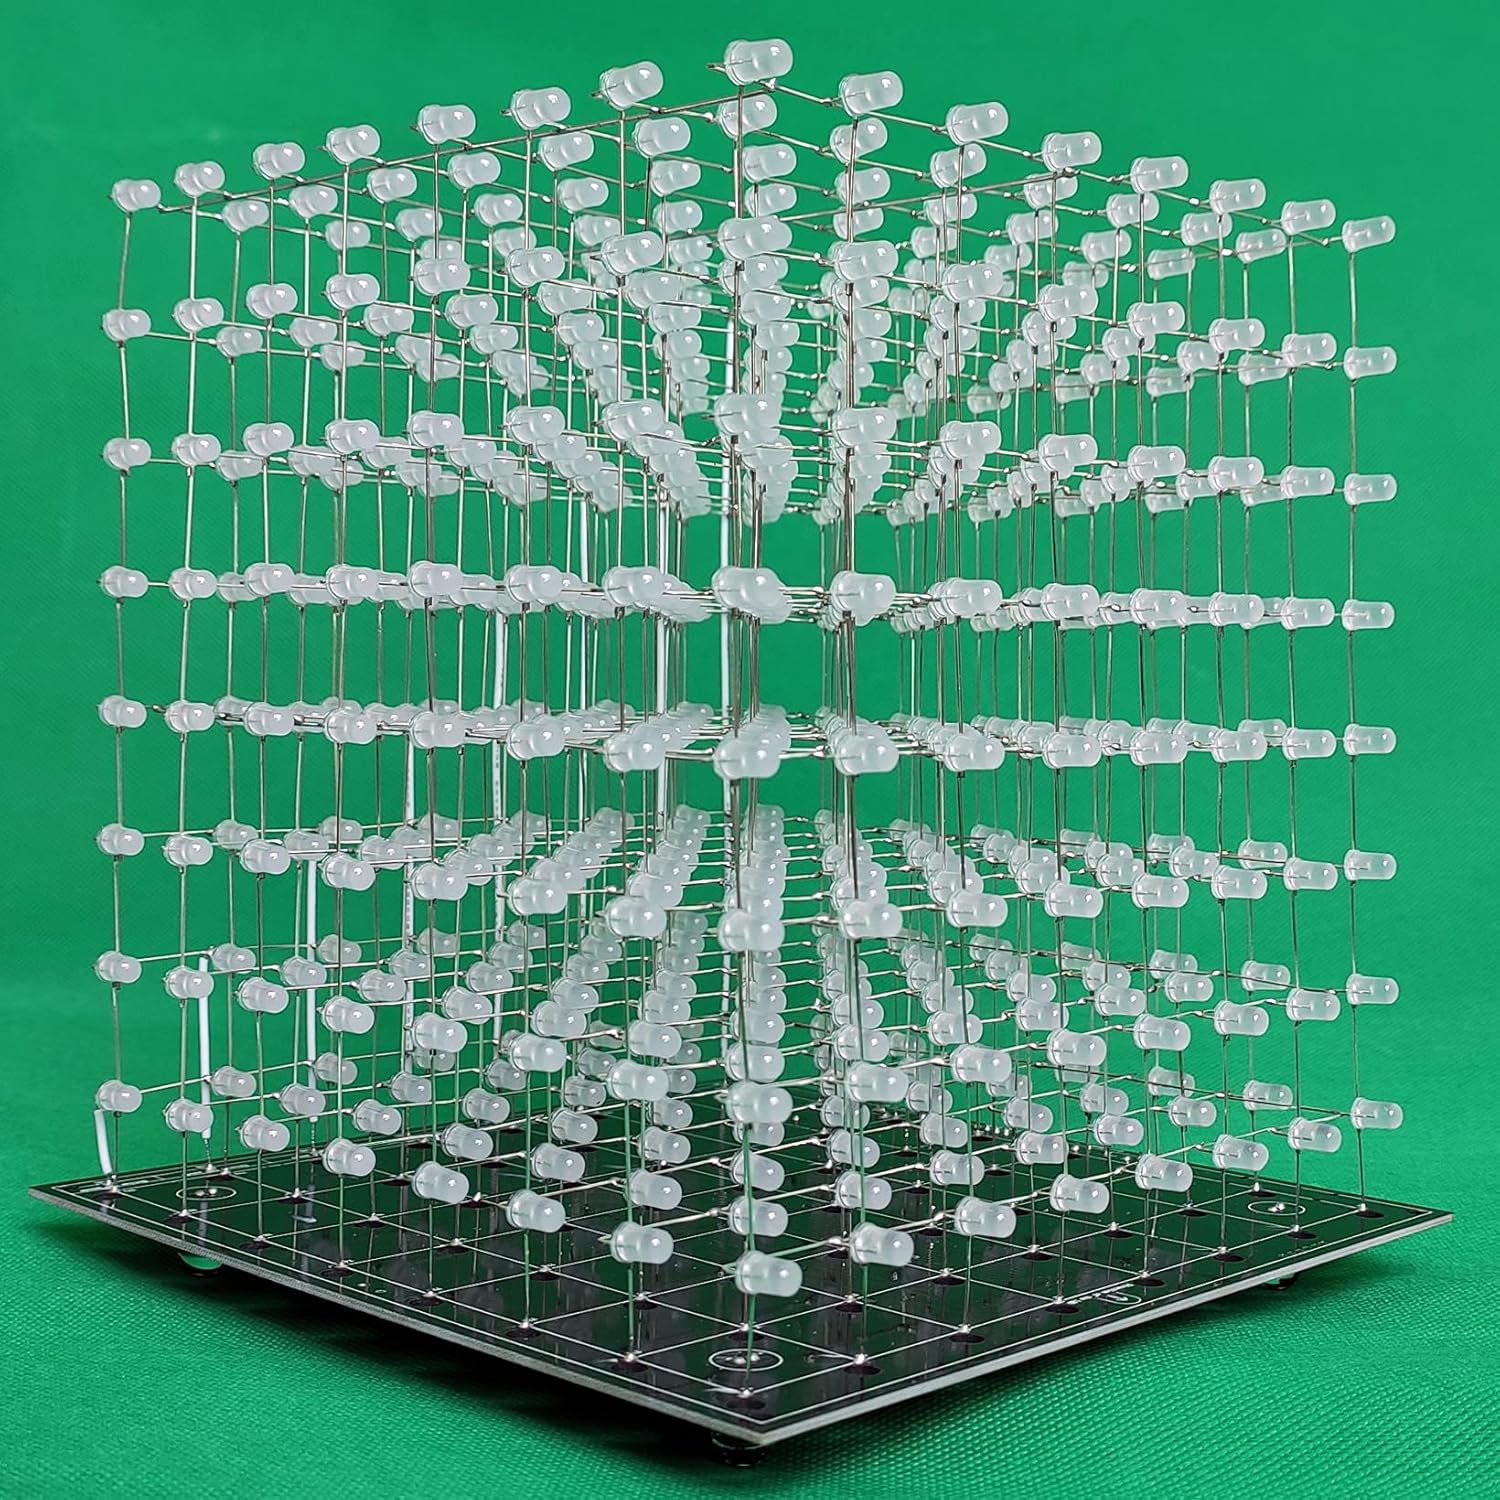
[Structure] Its motherboard is soldered and tested. Buyers only need to solder 512 LEDs by themselves. The size after soldering is 18x18x21cm. There are 7 buttons on the motherboard for adjusting dynamic effects. There is a connector for downloading the program on the motherboard.
[Program modification] The motherboard has downloaded the program, and the user can run it after welding. Users can also modify the program by themselves.
[Perfect After-Sale Service] This is DIY kits, not the end product! The Soldering Project requires basic electronic knowledge and hands-on ability. Please follow our installation instructions for welding. Any issues, please do not hesitate to contact us directly for further help. We provide lifetime technical support services for DIY products.
Customers say
Customers find the soldering station fun to build and beautiful to watch. They mention it’s a great product for beginners, and the project is well-thought-out. However, some customers have different opinions on the ease of assembly.
AI-generated from the text of customer reviews




John Howard ScozzafavaDecember 6, 2024
TAKES TIME, BUT DEFINATELY WORTH THE EFFORT!
The kit took a little more time to assemble than I was planning on but the end result is fantastic! It comes with many more LEDs than you need to assemble, way more. The instructions are straight forward & easy to understand. The soldering is simple & macroscopic. Easy even with poor eyesight. The preprogrammed displays are great, but the real fun is coming up with your own creative ideas. I thought the price was a little high but the components and the circuit board are high quality and the project was well thought out. In the end, you get what you pay for. If your into this sort of thing, You can’t go wrong with this kit!
kris redickDecember 6, 2024
It’s a PROJECT
I love this thing but let me start off by saying, this is a project it is not something that you will just easily assemble really quick. You need to plan ahead and you need to set some time apart to put it together. If you’re just starting to learn how to solder, this would not be my first suggestion. It looks really cool but you might want to wait and make this a later project. It’s definitely fun after you get the hang of what you’re doing and it’s definitely bright and very visually exciting. But if you don’t know what you’re doing you can easily get frustrated and then you take a quality package and waste it. So if you’re just getting into soldering I definitely suggest you work your way up to doing a cube. But if you’re into soldering and you want to do it like you this is the one it’s a lot of fun to play with.
WilliamDecember 6, 2024
Love this thing
Loved making this thing. Take your time and follow the instructions. Would love to make another.
Marc SalyersDecember 6, 2024
Great product for beginners! Did not come with any sotware!
***PROS***Product showed up as describedValue pricedEasy buildEasy soldering for beginnersLooks great when completeEasy to understand directions***CONS***Did not come with any softwareNo sample .hex files to uploadStuck with animations shipped withCame with upload cable no program
Mike KaderkaDecember 6, 2024
Cool lights
Very long time to put together pay attention to instructions. Very very time-consuming.
Terry R.December 6, 2024
Hours of assembly, no payoff.
Followed the directions, tested each assembled row and layer. All LEDs worked. Did final assembly onto the PCB, attached to a 5v power bank, annnnd only the 4 large stand LEDs lit up. It seems my PCB is no good.
Jerry WrightDecember 6, 2024
Beautiful to watch
A lot of fun to put together. It took me about 10 hours and watching it makes it worth the money and time spent
CooperDecember 6, 2024
Got lead poisoning
Haven’t finished, takes about 8 hours to get half way through, took so long to get to that half way mark I got lead poisoning. So be careful with the soldering and do it in a well ventilated area. I will edit this once I finish it.
JürgenDecember 6, 2024
Man benötigt auf jeden Fall gute Löterfahrung und Zeit. Dieser hier hat mich bestimmt 16 Stunden oder noch mehr gekostet. Wenn man ein anderes Konzept für die Verdrahtung der LED’s nimmt, dann kommt auch was Ansehliches heraus. Ich habe mir 0,8mm dicken Silberdraht besorgt. Diesen dann mittels Akkuschrauber und Schraubstock gerade gezogen und auf 18cm lange Drähte geschnitten. Danach die LED’s an die Drähte gelötet und so die einzelnen Lagen gebildet.Die Programmierung mittels des mitgelieferten Programmers funktioniert ebenfalls tadellos.
Jeremy ngansopDecember 6, 2024
Cube in etwa 8 Stunde komplett zusammen gebaut ein paar Stellen in der Anleitung waren nicht so gut zu verstehen aber trozdem gut geklappt.Anleitung nur auf englishSoftware hab ich leider nicht gefunden kann also nur die Standard Funktion nutzen